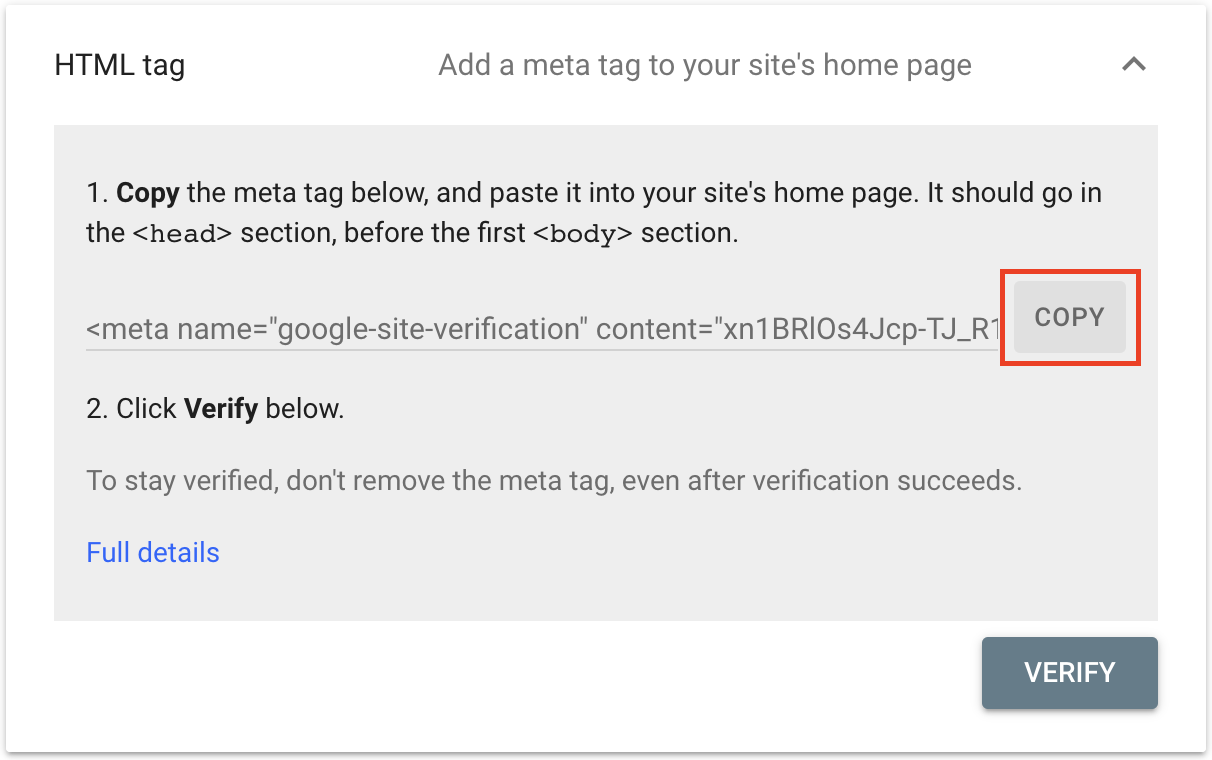
- มีข้อมูล Html tag ที่ต้องการยืนยัน
- หากยังไม่มีสามารถทำการเพิ่มเว็บไซต์เข้า Google Search Console ผ่าน https://help.ruk-com.in.th/topic/16314/
กด Copy ที่ได้ จากการเพิ่มเว็บไซต์เข้า Google Search Console
การยืนยัน Html tag แบบ WordPress
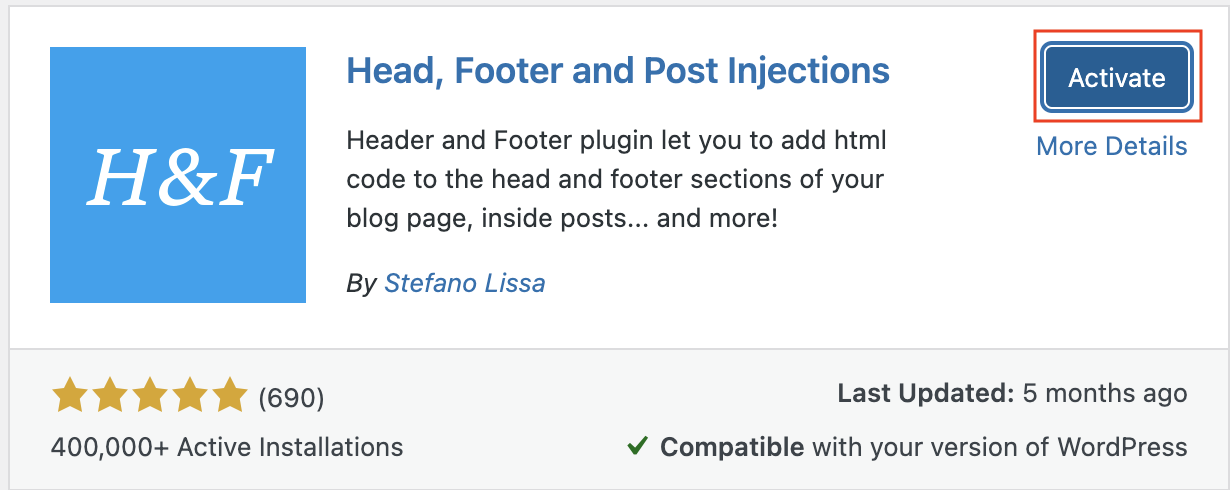
1. ทำการติดตั้ง Plugin Head, Footer and Post Injections หลังจากนั้นทำการ Activate เมื่อเรียบร้อยแล้ว ไปที่เมนู Settings > Header and Footer

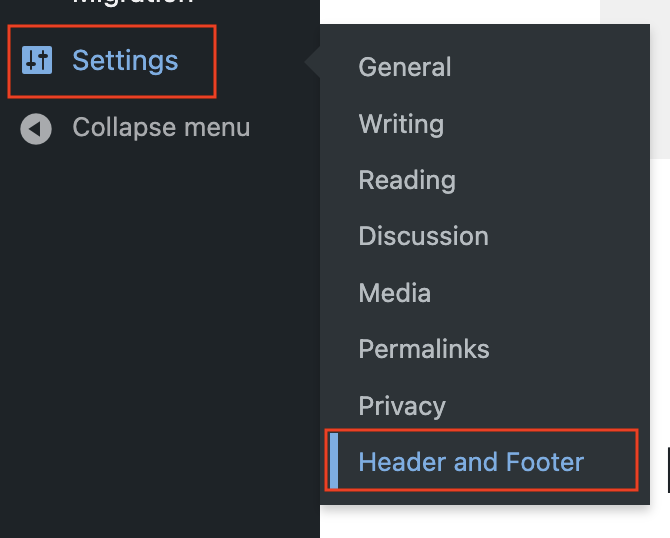
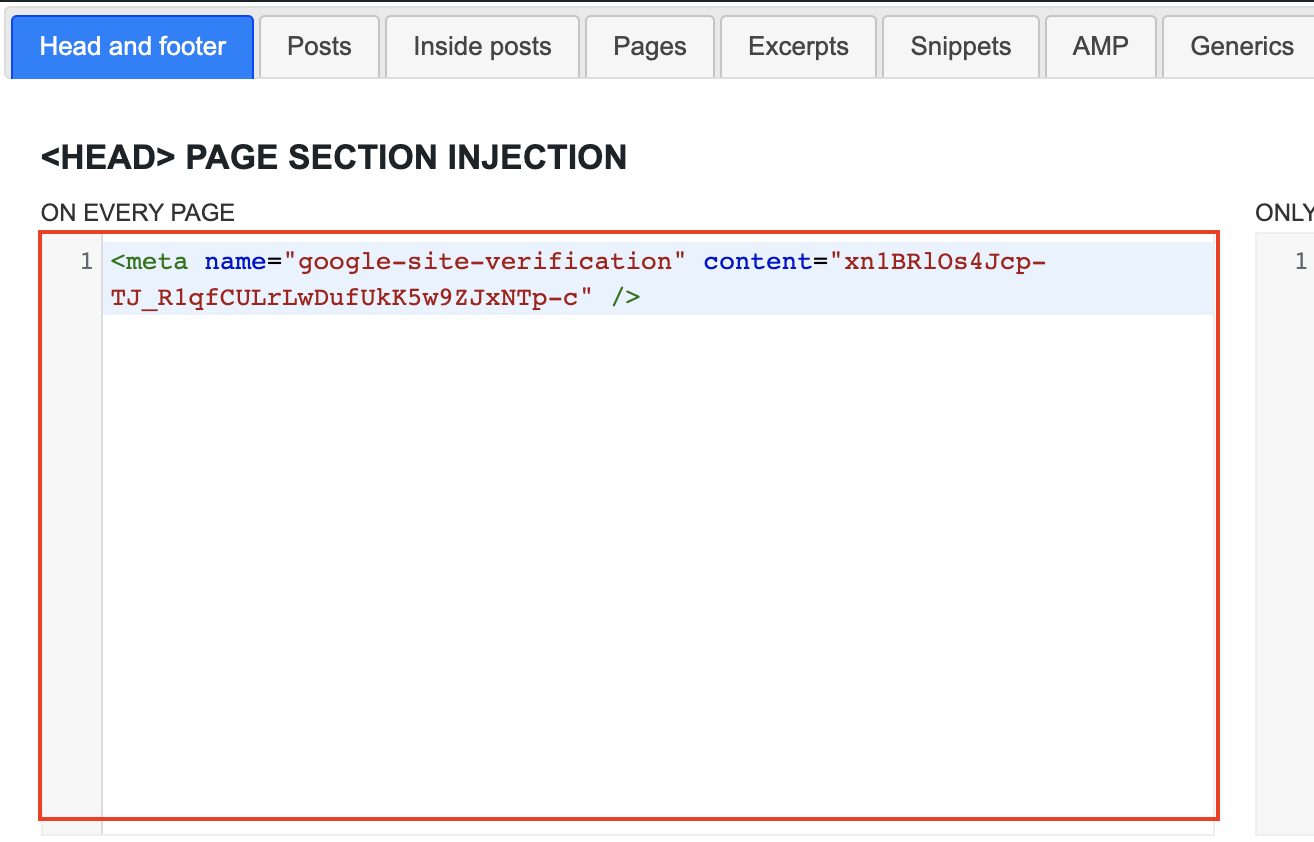
3. เลือกหัวข้อ Header and Footer และใส่ข้อมูลที่กด Copy มาวางที่ <HEAD> PAGE SECTION INJECTION ฝั่ง ในกรอบสีแดง
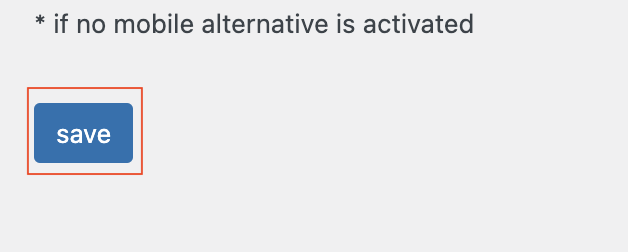
4. เมื่อใส่ข้อมูลเสร็จเรียบร้อยแล้วเลื่อนลงมาล่างสุดกด Save
การยืนยัน Html tag แบบ เว็บไซต์เขียนเอง
1. นำข้อมูล html tag ที่ Copy มาไปวางในส่วนของ <head> ของเว็บไซต์
2. เมื่อเสร็จเรียบร้อยกด Save


